
Seed Germination Essentials: The Aurora+ Guide
Blazing Trail Aurora+ Instructions and Cleaning 🌱✨
Maintaining the Cleanliness of Aurora+ 🧼
- Important: Avoid using isopropyl alcohol on the powder-coated surfaces, as it can cause damage, especially if allowed to soak.
- Cover the USB port and light with tape to prevent moisture during cleaning. Never immerse the unit in water.
- To clean the lid and germination pods, use hydrogen peroxide applied with a cotton swab, a lint-free cloth, or a soft bristle toothbrush. A mixture of vinegar and distilled water can also serve as an effective cleaner.
- If incorporating hydrogen peroxide into your cleaning or germination solution, ensure it’s a maximum of 2 parts distilled water to 1 part 3% hydrogen peroxide, yielding a 1% hydrogen peroxide solution.
How to Use Aurora+ 🚀
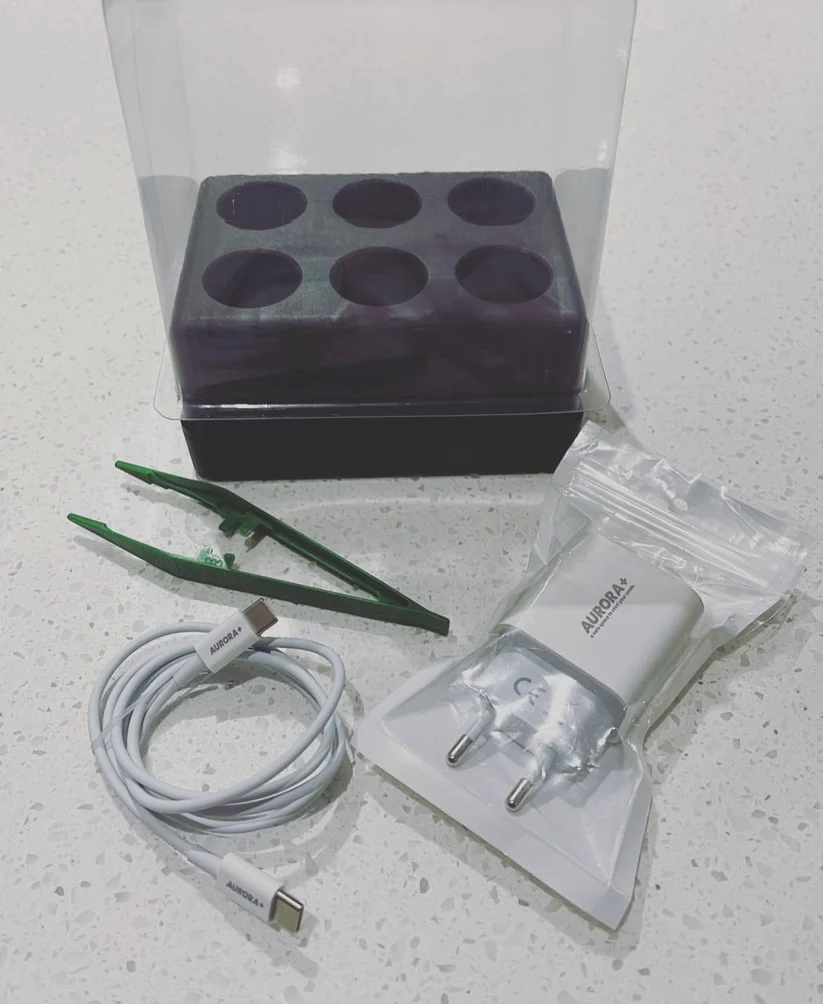
1. Setup: Twist off the lid to disengage the magnets and remove it. Insert a cotton pad into each seed pod you wish to use.
2. Placing Seeds: Using the tweezers provided, position your seed on the cotton pad, then add another pad on top of the seed.
3. Moistening: Use the included pipette to hydrate the pods. Gently press down on the top cotton pad and replace the lid.
4. Adjusting Temperature: Plug in the unit and choose your preferred temperature or pre-heat your Aurora+. The ideal hydration level may vary based on the seed type and size in each pod.
Note: Be careful not to exceed 3-4ml per pod when cotton pads are used (1ml without). Pods should not overflow. On the high setting, with 1-4 tiny seeds, 2-3ml typically lasts between 24-48 hours, depending on the humidity in the room. Overloading the cotton may cause it to compress, restricting airflow.
Keep Aurora+ on a stable, level surface; avoid moving it once filled, especially when liquids are involved without an absorptive layer. Make sure each pod is adequately hydrated, as it does not self-water.
Transplanting: Once your seed has developed a taproot, carefully transplant it into your chosen growing medium. Remember, Aurora+ is just one part of your successful germination journey. 🌍🌿
Temperature Settings 🌡️
- Two temperature choices:
- Flashing Green Light: Indicates the unit is warming up to around 27-28°C.
- Solid Green Light: Shows it is warming to approximately 24-25°C.
To switch temperatures, simply unplug the unit and plug it back in. Once the desired temperature is reached, Aurora+ will automatically cycle on and off to maintain that setting, with the indicator light remaining either solid or flashing.
Included stick-on rubberized feet help enhance thermal efficiency on any surface. Make sure the outer surface of your Aurora+ is clean and dry before placing the feet on the bottom corners. This step helps minimize heat loss on cooler surfaces like granite or stainless steel.
Recommendations 📈
- For most seeds, the higher temperature setting of 27-28°C is advised, unless you're dealing with varieties that thrive in cooler conditions, such as strawberries or apples.
- Utilizing the stick-on feet is critical for reducing heat loss. The unit may seem cool to the touch, especially if your hands are warm, as its design allows for even heat distribution.
Advantages of Aurora+ 🌟
Aurora+ is far more than just a germination tool; it harnesses innovative technology for optimal seed growth. Bid farewell to low-quality heating mats. Aurora+ provides an energy-efficient, safe, and powerful solution for seed starting. The anodised aluminium construction promotes consistent heat distribution for an excellent start.
With two temperature options and straightforward plug-and-play functionality, witness your seeds flourish in the ideal germination environment. 🌱❤️
Embark on your seed-growing adventure with the Blazing Trail Aurora+!