
Blazing Trail Cleaning & Use Guide for the Sprout 🌱
G’day, mate! Welcome to your ultimate guide for using and caring for your Sprout. We’re here to help you grow your indoor garden like a pro while keeping your Sprout in tip-top shape! Let’s jump right in, shall we?
Keeping Your Blazing Trail Sprout Clean 🧼✨
Important Cleaning Instructions
1. Safe Cleaning Agent: 🧴 Use isopropyl alcohol for a safe and effective clean-up of your Sprout. It's the perfect companion for keeping your device germ-free!
2. Avoid Damage: 🚫 **DO NOT** use hydrogen peroxide in any concentration. It can wreak havoc on that beautiful anodized surface, so steer clear!
3. Safety First: 🔒 Always ensure both USB-C plugs are firmly in place while cleaning. We don’t want any mishaps here!
4. Submerging Caution: 💦 Never submerge your Sprout in water. It loves to stay dry!
Cleaning Process
1. Start with the lid and germination pod. Use isopropyl alcohol on a cotton swab, lint-free cloth, or a soft bristle toothbrush to clean.
2. Wipe down with some distilled water to finish the job and make sure it’s dried thoroughly. A little TLC goes a long way! 💧
Getting Started with Your Sprout 🚀
1. Plug In: 🔌 Connect your Sprout and watch the magic happen! It may take a few seconds to light up due to the internal capacitor, but patience is key here.
2. Check the LED Light:
- Red Light: Indicates a higher temperature setting (27-28°C).
- Green Light: Indicates a lower temperature setting (25-26°C).
Adjusting the Temperature
- Locate the small access point (you’ll find it near the LED light at the bottom of the unit).
- Carefully insert the temperature key into the hole, press down gently on the switch, and release it. Voilà, you’re in control!
Germination Instructions 🌱✨
Pre-Germination Cleaning
It's crucial to clean your Sprout before and after each use. This helps keep nasties like pathogens at bay, ensuring a safe environment for your future plants. 🌿 Follow those cleaning steps we just shared; they're good for your Sprout’s health!
Germination Steps
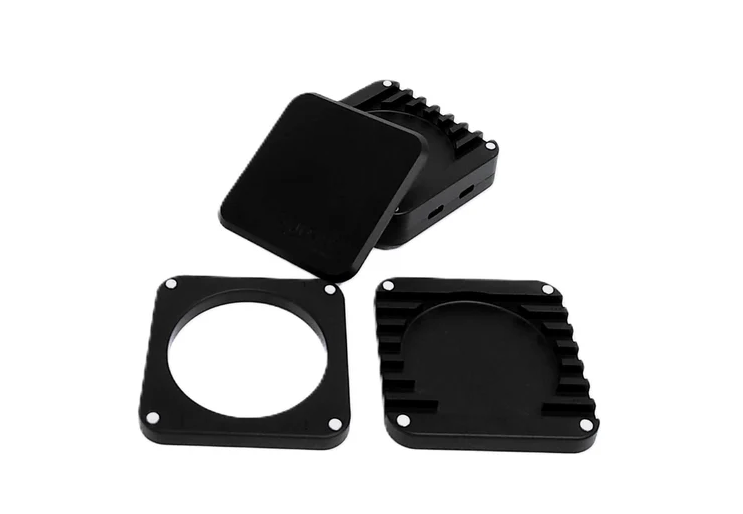
1. Twist the lid to release the magnets, then slide it off.
2. Insert a cotton pad into the germination pod.
3. Place your seeds on the cotton pad, using the quadrant labels (1-4) to stay organized. 📊
4. Carefully add half of your distilled, spring, or tap water.
5. Cover with another cotton pad and add the remaining water, keeping it to a maximum of 10ml total.
6. Gently press the edges of the pad to seal the seeds inside—no one likes a loose seed! 🤗
7. Replace the lid and let those magnets do their thing.
8. Keep an eye on moisture levels—rehydrate as needed and don’t let those pads dry out.
For Larger Seeds – Use the Spacer 🥜
*Spacer sold separately in the module pack*
1. Remove the lid.
2. Place the spacer on top of the Sprout, giving it a good press to secure the magnets.
3. Follow the standard germination steps.
*Note: Feeling a bit adventurous? Cotton pads can be layered when using the spacer to accommodate more seeds or different seed types! 🎉*
For More Space or a Cooler Temperature – Use the Second Tier Tray 🍃
*Second Tier Tray sold separately in the module pack*
1. Remove the lid.
2. Place the second tier tray on top of the Sprout, ensuring that magnets lock into place.
3. Make sure the air channels face the same direction as the main unit (away from those USB-C ports).
4. Follow the regular germination steps now with a bit more space!
Important Safety Tips ⚠️
- Submerging: Remember, never submerge your Sprout in water at any time!
- Avoid Overfilling: 🎈 Be mindful with the germination pod—don’t overfill it!
- Hydrogen Peroxide Warning: 🚫 Never, ever use hydrogen peroxide in any form. Trust us, your Sprout will thank you!
- Keep Components Dry: Ensure USB-C ports, LED light, and temperature controls stay dry. If they’re wet—unplug immediately! ⚠️
- Use Safety Plugs: Always use the included safety plugs for any unused USB-C ports to keep things safe and sound.
Daisy Chaining 🤝
Want to take your Sprout game to the next level? You can daisy-chain up to 3 Sprout units (2 per 20W adapter). Use any available USB-C port—double the Sprout, double the fun!
Environmental Considerations ☀️❌
Keep your Sprout out of direct sunlight and away from warm appliances. It tends to absorb heat from its surroundings, which isn't ideal. Plus, steer clear of fans to prevent unwanted cooling.
Power Recommendations ⚡
For the best results, always use the USB-C cord that came with your Sprout! It’s designed for performance. We recommend a reputable brand power adapter, like the Apple 20W USB-C adapter, to ensure the right voltage and consistency. Avoid using excessively long cords, as they can affect performance negatively.
With this guide in hand, you’re all set to grow a thriving garden with your Blazing Trail Sprout! 🌿 Happy growing, and make sure to show off your fresh greens! 🍃🎉